
[ad_1]
Software program upgrades convey new options and higher efficiency, and preserve you present with the software program supplier. Nonetheless, upgrades for software program providers might be troublesome to finish efficiently, particularly when you’ll be able to’t tolerate downtime and when the brand new model’s APIs introduce breaking adjustments and deprecation that you could remediate. This put up reveals you the right way to improve from Elasticsearch engine to OpenSearch engine on Amazon OpenSearch Service without having an intermediate improve to Elasticsearch 7.10.
OpenSearch Service helps OpenSearch as an engine, with variations within the 1.x via 2.x collection. The service additionally helps legacy variations of Elasticsearch, variations 1.x via 7.10. Though OpenSearch brings many enhancements over earlier engines, it may possibly really feel daunting to contemplate not solely upgrading variations, but additionally altering engines within the course of. The excellent news is that OpenSearch 1.0 is wire appropriate with Elasticsearch 7.10, making engine adjustments easy. In case you’re working a model of Elasticsearch within the 6.x or early 7.x collection on OpenSearch Service, you would possibly assume you’ll want to improve to Elasticsearch 7.10, after which improve to OpenSearch 1.3. Nonetheless, you’ll be able to simply improve your current Elasticsearch engine working 6.8, 7.1, 7.2, 7.4, 7.9, and seven.10 in OpenSearch Service to the OpenSearch 1.3 engine.
OpenSearch Service runs quite a lot of checks earlier than working an precise improve:
- Validation earlier than beginning an improve
- Making ready the setup configuration for the specified model
- Provisioning new nodes with the identical {hardware} configuration
- Shifting shards from previous nodes to newly provisioned nodes
- Eradicating older nodes and previous node references from OpenSearch endpoints
Throughout an improve, AWS takes care of the undifferentiated heavy lifting of provisioning, deploying, and transferring the information to new area. You’re accountable to verify there are not any breaking adjustments that have an effect on the information migration and motion to the newer model of the OpenSearch area. On this put up, we talk about the issues you could modify and confirm earlier than and after working an improve from 6.8, 7.1, 7.2, 7.4, 7.9, and seven.10 model of Elasticsearch to 1.3 OpenSearch Service.
Pre-upgrade breaking adjustments
The next are pre-upgrade breaking adjustments:
- Dependency examine for language purchasers and libraries – In case you’re utilizing the open-source high-level language purchasers from Elastic, for instance the Java, go, or Python shopper libraries, AWS recommends transferring to the open-source, OpenSearch variations of those purchasers. (In case you don’t use a high-level language shopper, you’ll be able to skip this step.) The next are a couple of steps to carry out a dependency examine:
- Decide the shopper library – Select an acceptable shopper library appropriate along with your programing language. Discuss with OpenSearch language purchasers for an inventory of all supported shopper libraries.
- Add dependencies and resolve conflicts – Replace your mission’s dependency administration system with the mandatory dependencies specified by the shopper library. In case your mission already has dependencies that battle with the OpenSearch shopper library dependencies, it’s possible you’ll encounter dependency conflicts. In such circumstances, you’ll want to resolve the conflicts manually.
- Check and confirm the shopper – Check the OpenSearch shopper performance by establishing a connection, performing some primary operations (like indexing and looking out), and verifying the outcomes.
- Removing of mapping varieties – A number of varieties inside an index had been deprecated in Elasticsearch model 6.x, and fully eliminated in model 7.0 or later. OpenSearch indexes can solely include one mapping kind. From OpenSearch model 2.x onward, the mapping _type should be _doc. It’s essential to examine and repair the mapping earlier than upgrading to OpenSearch 1.3.
Full the next steps to establish and repair mapping points:
- Navigate to dev instruments and use the next
GET <index> mappingAPI to fetch the mapping info for all of the indexes:
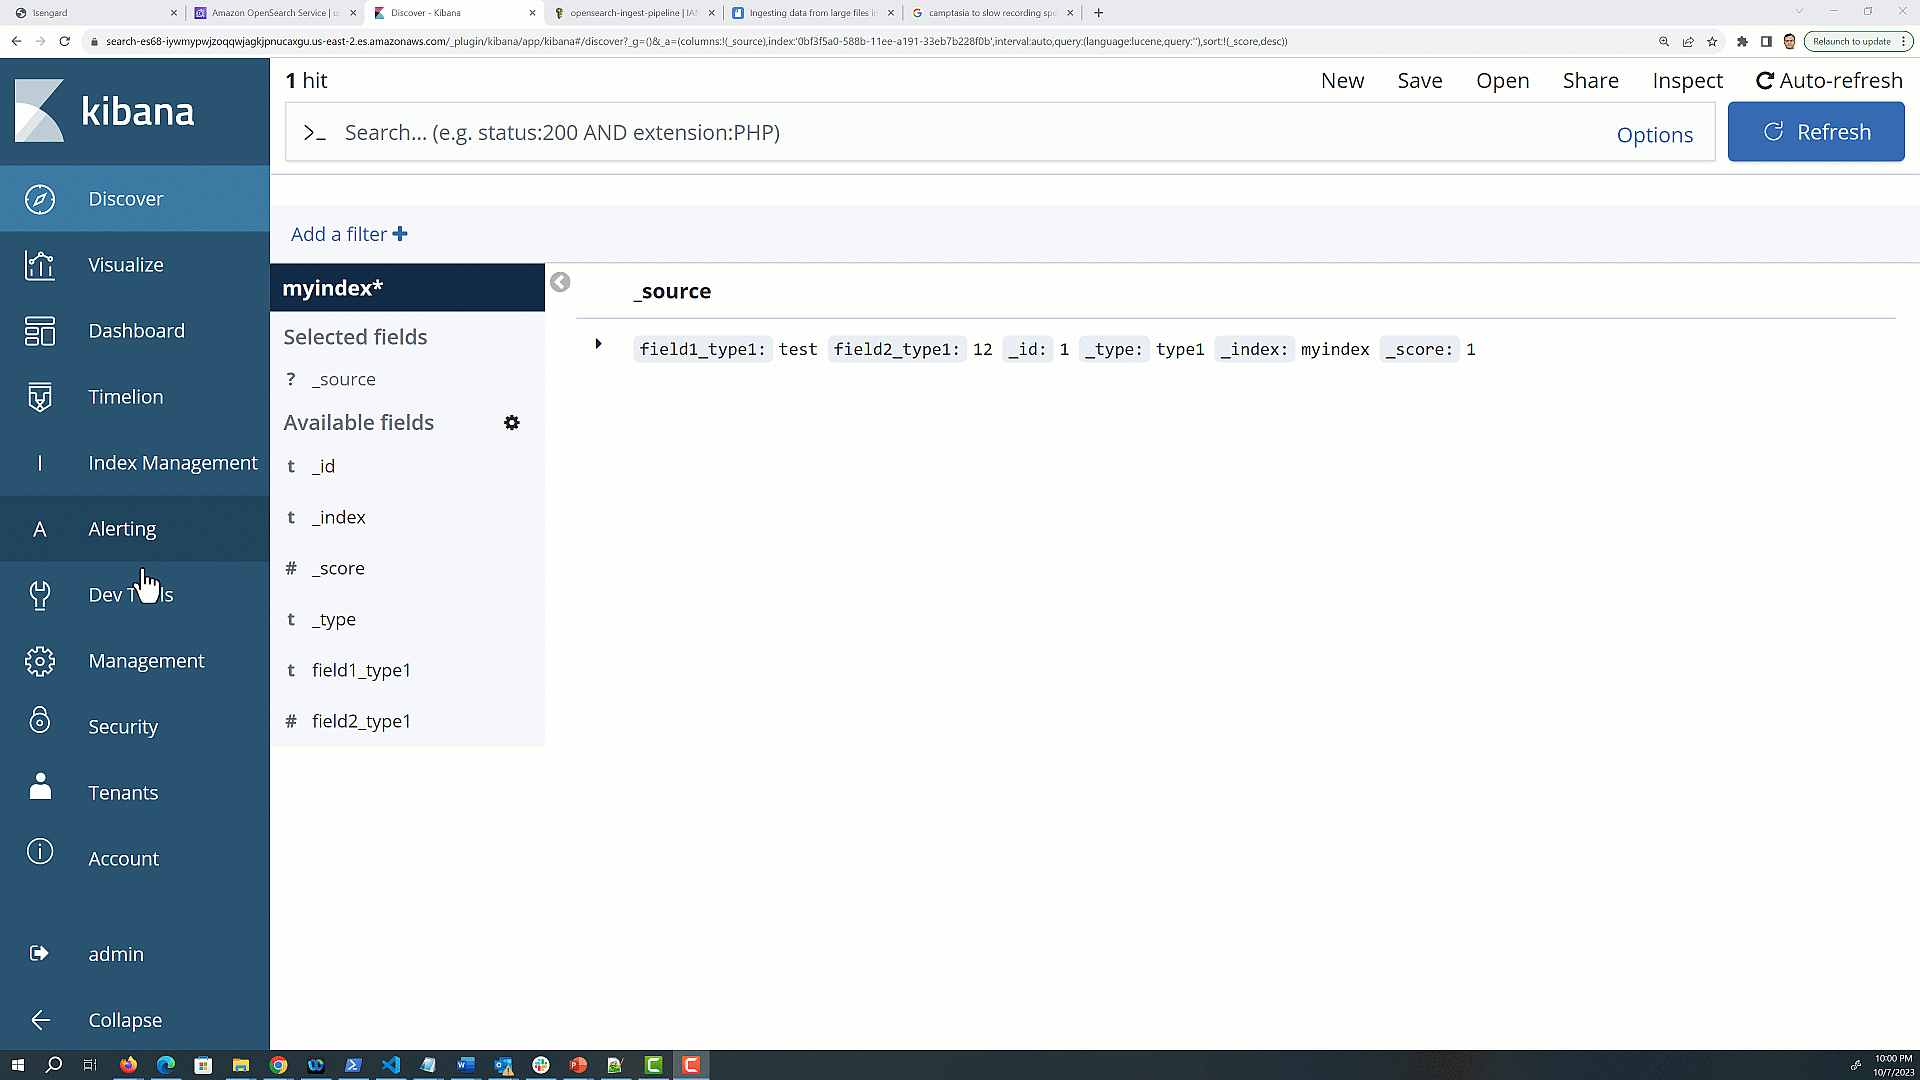 The mapping response will include a JSON construction that represents the mapping to your index.
- Search for the top-level keys within the response JSON; every key represents a customized kind throughout the index.
The _doc kind is used for the default kind in Elasticsearch 7.x and OpenSearch Service 1.x, however you might even see further varieties that you just outlined in earlier variations of Elasticsearch. The next is an instance response for an index with two customized varieties, type1 and type2.
Notice that indexes created in 5.x will proceed to perform in 6.x as they did in 5.x, however indexes created in 6.x solely permit a single kind per index.
To repair the a number of mapping varieties in your current area, you’ll want to reindex the information, the place you’ll be able to create one index for every mapping. It is a essential step within the migration course of as a result of OpenSearch doesn’t assist a number of varieties inside a single index. Within the subsequent steps, we convert an index that has a number of mapping varieties into two separate indexes, every utilizing the _doc kind.
- You’ll be able to unify the mapping through the use of your current index identify as a root and including the kind as a suffix. For instance, the next code creates two indexes with
myindexas the foundation identify andtype1andtype2because the suffix: - Use the
_reindexAPI toreindexthe information from the unique index into the 2 new indexes. Alternately, you’ll be able to reload the information from its supply, if you happen to’re holding it in one other system. - In case your utility was beforehand querying the unique index with a number of varieties, you’ll have to replace your queries to specify the brand new indexes with _doc as the kind. For instance, in case your shopper was querying utilizing
myindex, which has been reindexed tomyindex_type1andmyindex_type2, then change your purchasers to level tomyindex*, which is able to question throughout each indexes. - After you might have verified that the information is efficiently reindexed and your utility is working as anticipated with the brand new indexes, it is best to delete the unique index earlier than beginning the improve, as a result of it received’t be supported within the new model. Be cautious when deleting information and be sure you have backups if mandatory.
- As a part of this improve, Kibana can be changed with OpenSearch Dashboards. Once you’re completed with the improve within the subsequent step, it is best to advocate your customers to make use of the brand new endpoint, which can be _dashboards. In case you use a customized endpoint, remember to replace it to level to
/_dashboards. - We advocate that you just replace your AWS Identification and Entry Administration (IAM) insurance policies to make use of the renamed API operations. Nonetheless, OpenSearch Service will proceed to respect current insurance policies by internally replicating the previous API permissions. Service management insurance policies (SCPs) introduce an extra layer of complexity in comparison with commonplace IAM. To stop your SCP insurance policies from breaking, you’ll want to add each the previous and the brand new API operations to every of your SCP insurance policies.
Begin the improve
The improve course of is irreversible and may’t be paused or cancelled. You need to make it possible for the whole lot will go easily by working a proof of idea (POC) examine. By constructing a POC, you guarantee information preservation, keep away from compatibility points, stop undesirable bugs, and mitigate dangers. You’ll be able to run a POC with a small area on the brand new model, and with a small subset of your information. Deploy and run any front-end code that communicates with OpenSearch Service through API towards your take a look at area. Use your ingest pipeline to ship information to your take a look at area as nicely, making certain nothing breaks. Import or rebuild dashboards, alerts, anomaly detectors, and so forth. This easy precaution could make your improve expertise smoother and trouble-free whereas minimizing potential disruptions.
When OpenSearch Service begins the improve, it may possibly take from quarter-hour to a number of hours to finish. OpenSearch Dashboards is perhaps unavailable throughout some or the entire period of the improve.
On this part, we present how one can begin an improve utilizing the AWS Administration Console. It’s also possible to run the improve utilizing the AWS Command Line Interface (AWS CLI) or AWS SDK. For extra info, seek advice from Beginning an improve (CLI) and Beginning an improve (SDK).
- Take a handbook snapshot of your area.
This snapshot serves as a backup you could restore on a brand new area if you wish to return to utilizing the prior model.
- On the OpenSearch Service console, select the area that you just need to improve.
- On the Actions menu, select Improve.
- Choose the goal model as OpenSearch 1.3. In case you’re upgrading to an OpenSearch model, then you definitely’ll have the ability to allow compatibility mode. In case you allow this setting, OpenSearch stories its model as 7.10 to permit Elastic’s open-source purchasers and plugins like Logstash to proceed working along with your OpenSearch Service area.
- Select Test Improve Eligibility, which helps you establish if there are any breaking adjustments you continue to want to repair earlier than working an improve.
- Select Improve.
- Test the standing on the area dashboard to watch the standing of the improve.
The next graphic offers a fast demonstration of working and monitoring the improve through the previous steps.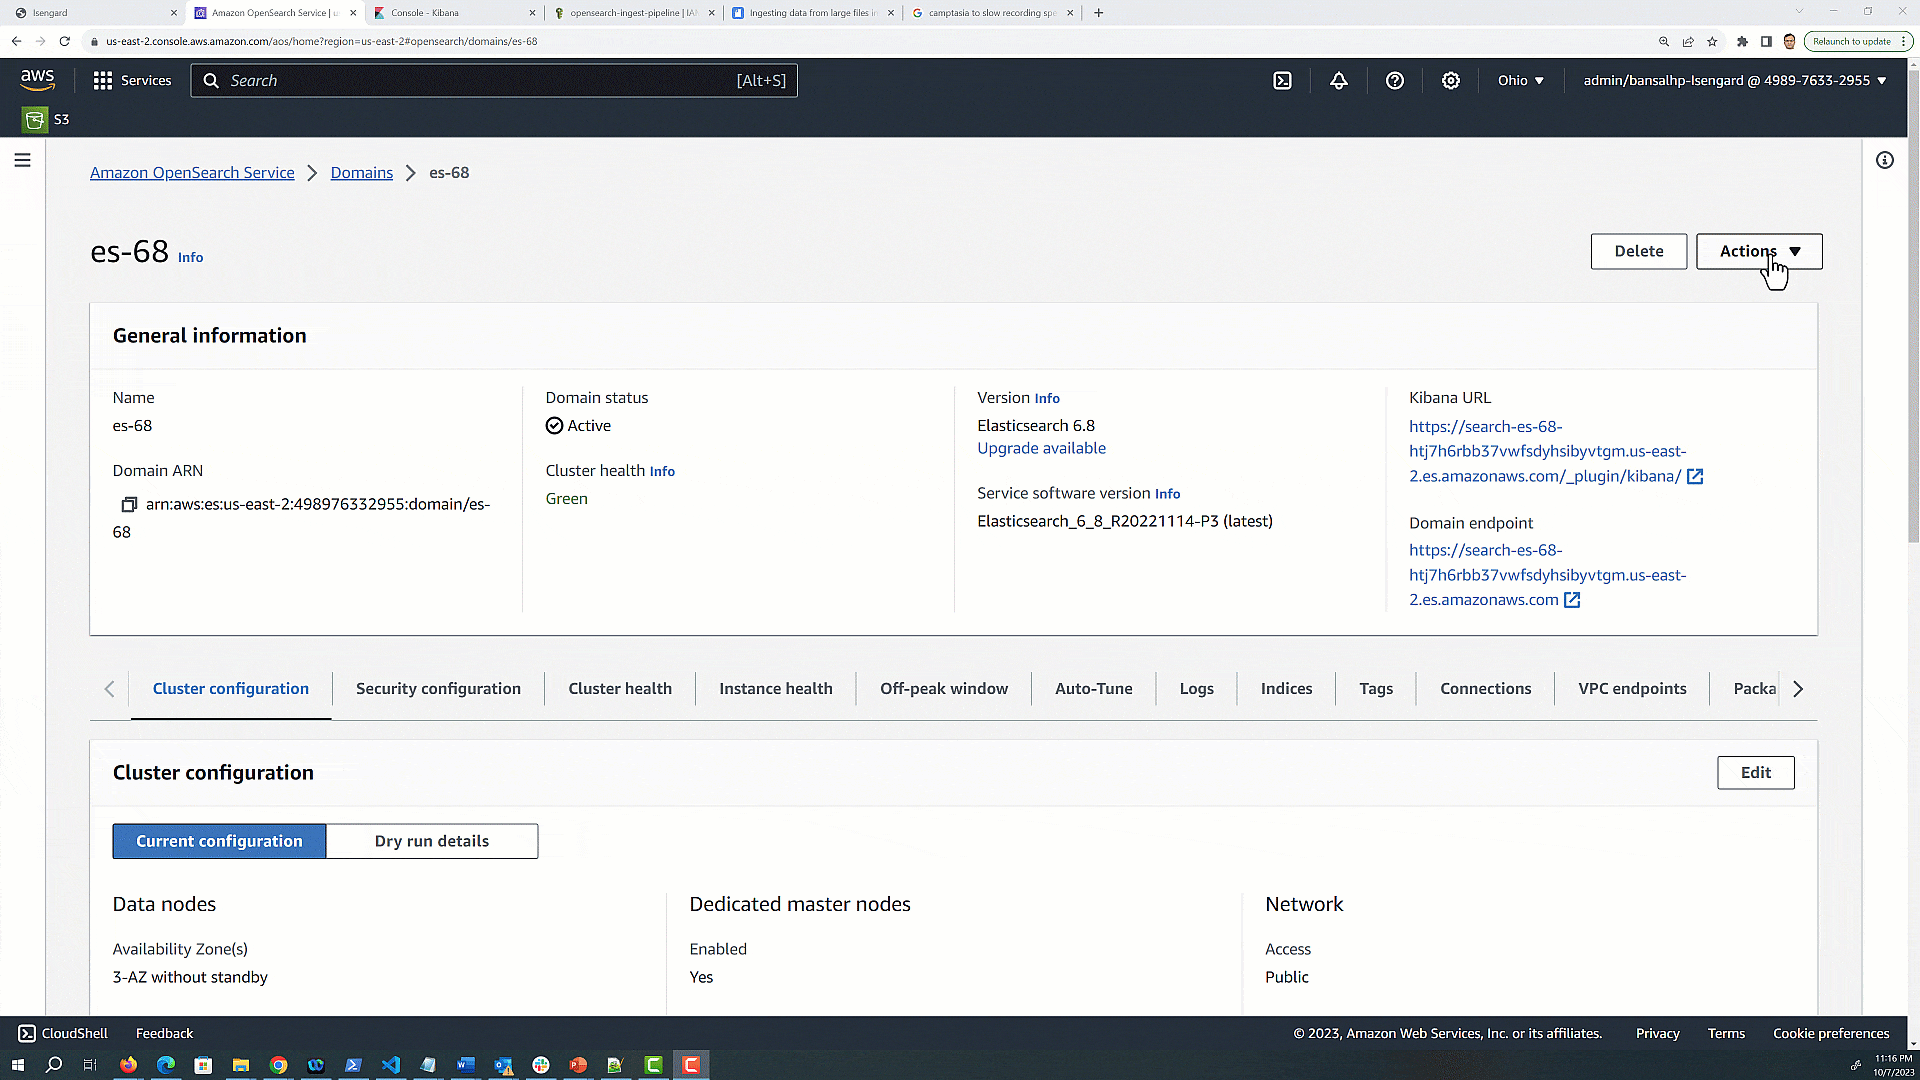
Publish-upgrade adjustments and validations
Now that you’ve got efficiently upgraded your area to OpenSearch Service 1.3, remember to make the next adjustments:
- Customized endpoint – A customized endpoint to your OpenSearch Service area makes it easy so that you can seek advice from your OpenSearch and OpenSearch Dashboards URLs. You’ll be able to embody your organization’s branding or simply use a shorter, easier-to-remember endpoint than the usual one. In OpenSearch Service, Kibana has been renamed to dashboards. After you improve a website from the Elasticsearch engine to the OpenSearch engine, the
/_plugin/kibanaendpoint adjustments to/_dashboards. In case you use the Kibana endpoint to arrange a customized area, you’ll want to replace it to incorporate the brand new/_dashboardsendpoint. - SAML authentication for OpenSearch Dashboards – After you improve your area to OpenSearch Service, you’ll want to change all Kibana URLs configured in your id supplier (IdP) from
/_plugin/kibanato/_dashboards. The most typical URLs are assertion shopper service (ACS) URLs and recipient URLs.
Conclusion
This put up mentioned what to contemplate when planning to improve your current Elasticsearch engine in your OpenSearch Service area to the OpenSearch engine. OpenSearch Service continues to assist older engine variations, together with open-source variations of Elasticsearch from 1.x via 7.10. By migrating ahead to OpenSearch Service, it is possible for you to to make the most of bug fixes, efficiency enhancements, new service options, and expanded occasion varieties to your information nodes, like AWS Graviton 2 situations.
When you’ve got suggestions about this put up, share it within the feedback part. When you’ve got questions on this put up, begin a brand new thread on the Amazon OpenSearch Service discussion board or contact AWS Help.
Concerning the Authors
 Prashant Agrawal is a Sr. Search Specialist Options Architect with Amazon OpenSearch Service. He works intently with clients to assist them migrate their workloads to the cloud and helps current clients fine-tune their clusters to realize higher efficiency and save on price. Earlier than becoming a member of AWS, he helped numerous clients use OpenSearch and Elasticsearch for his or her search and log analytics use circumstances. When not working, you’ll find him touring and exploring new locations. In brief, he likes doing Eat → Journey → Repeat.
 Harsh Bansal is a Options Architect at AWS with Analytics as his space of specialty.He has been constructing options to assist organizations make data-driven selections.
[ad_2]