
相关搜索
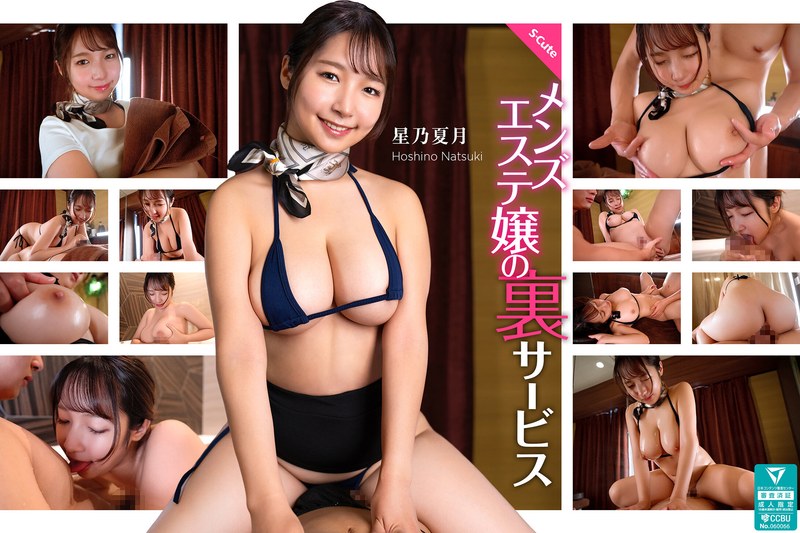
SQSG-011 “这有什么意义?” 』メンズエsute嬢の里萨比斯
强奸乱伦 - 2025-01-15
SQTE-574 セfure及以上,恋人还年轻。ずーっとムラムラ!脱掉美少女捏三昧!
强奸乱伦 - 2025-01-15
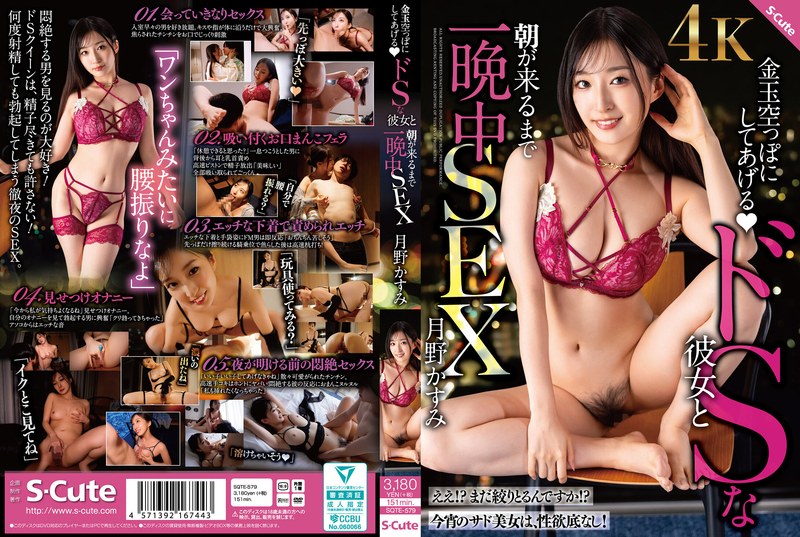
SQTE-579 金宇空 っぽにしてあげる ドSな这个女孩来到了王朝るまで一晚做爱
强奸乱伦 - 2025-01-15
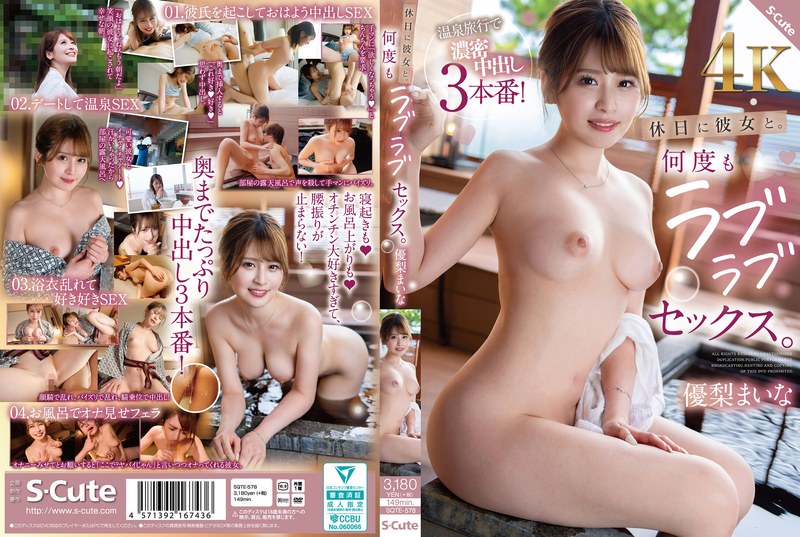
SQTE-578 度假的女孩。 Hedu もラブラセッkusu。尤里米娜
强奸乱伦 - 2025-01-15
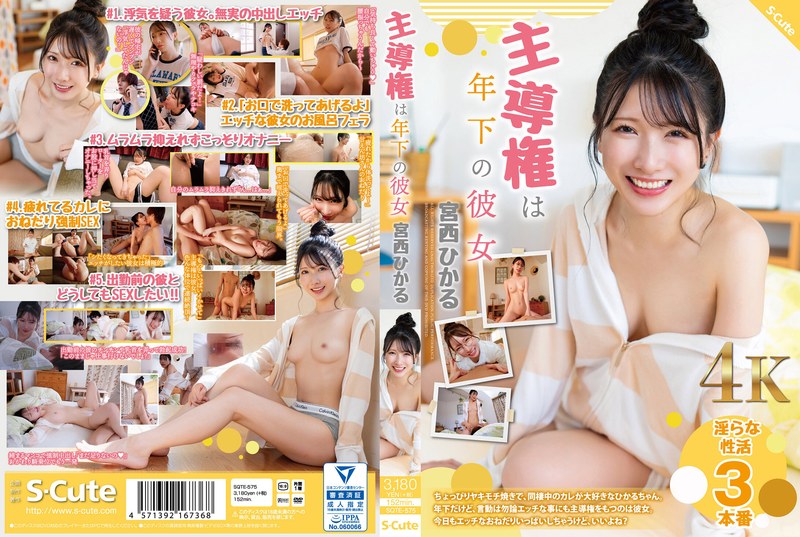
SQTE-575 主导性的女孩
强奸乱伦 - 2025-01-15
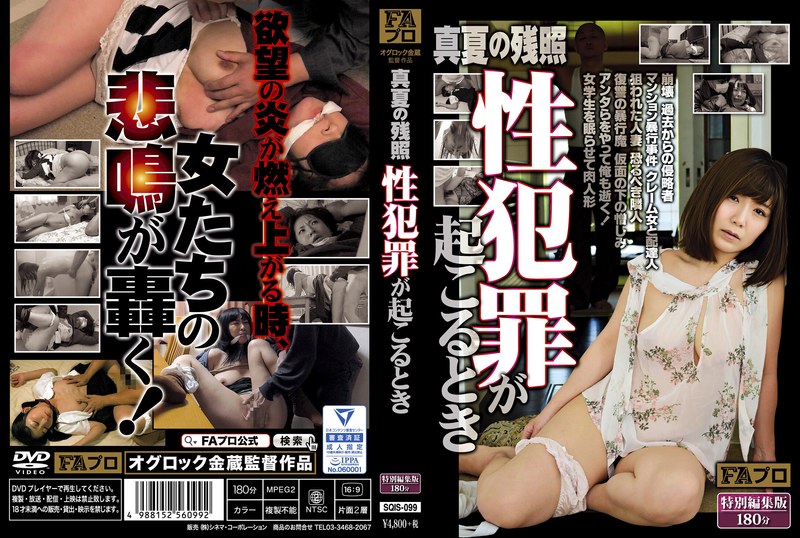
SQIS-099 Manatsu的其他照片,性犯罪,こるとき
强奸乱伦 - 2025-01-15
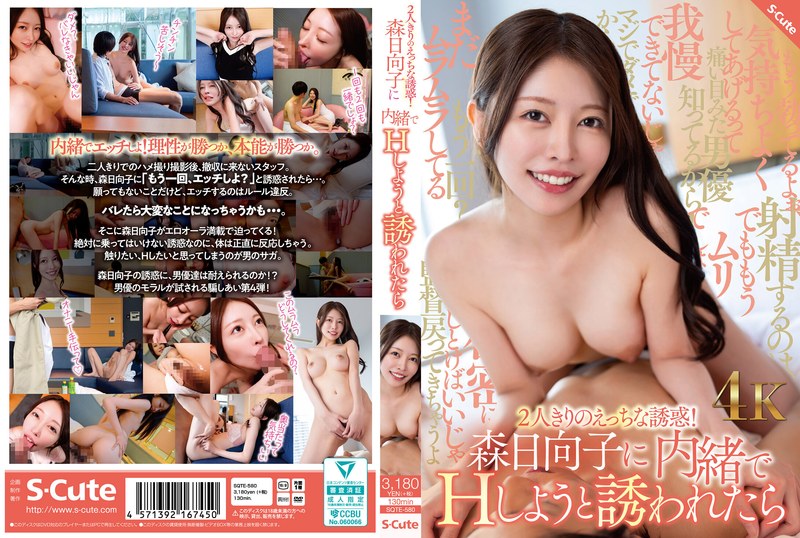
SQTE-580 2座诱惑!森日向子的内幕
强奸乱伦 - 2025-01-15
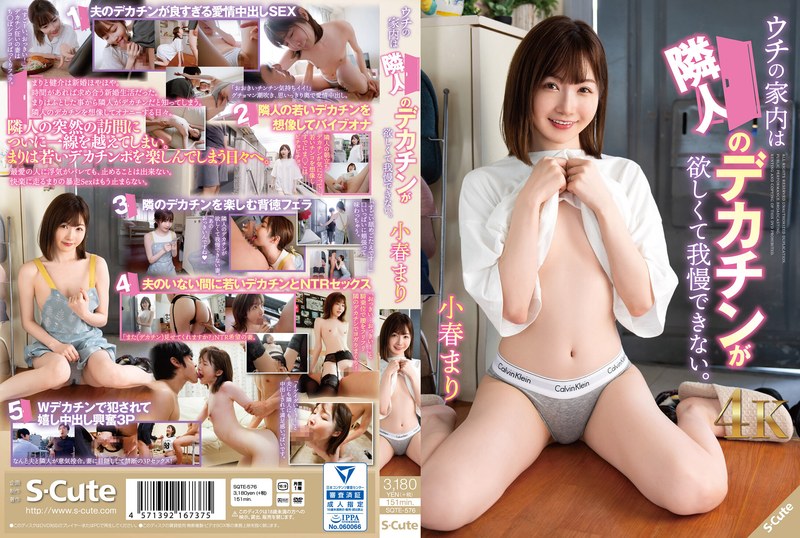
SQTE-576 ウチの家は邻居のデカチンが欲望しくて我很慢できない。
强奸乱伦 - 2025-01-15
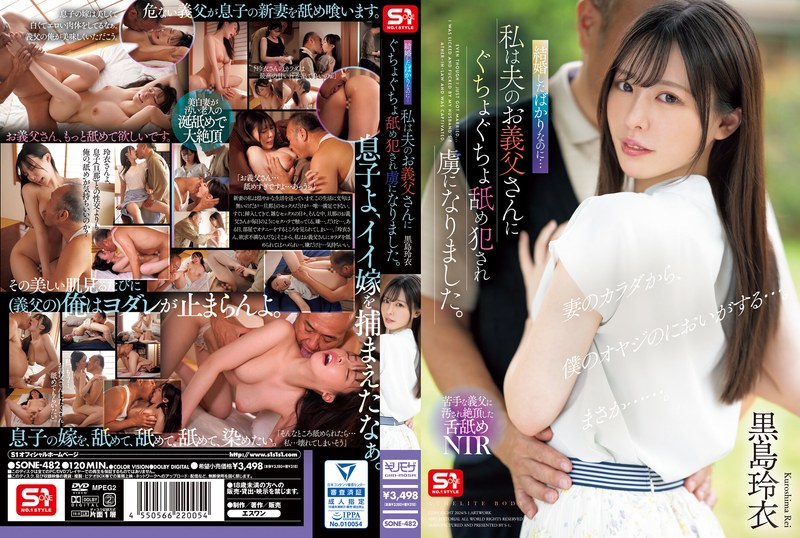
SONE-482 结婚したばかりなのに...私人丈夫のお养父さんにぐちょぐちょ舔め罪犯され渫なりました。
强奸乱伦 - 2025-01-14
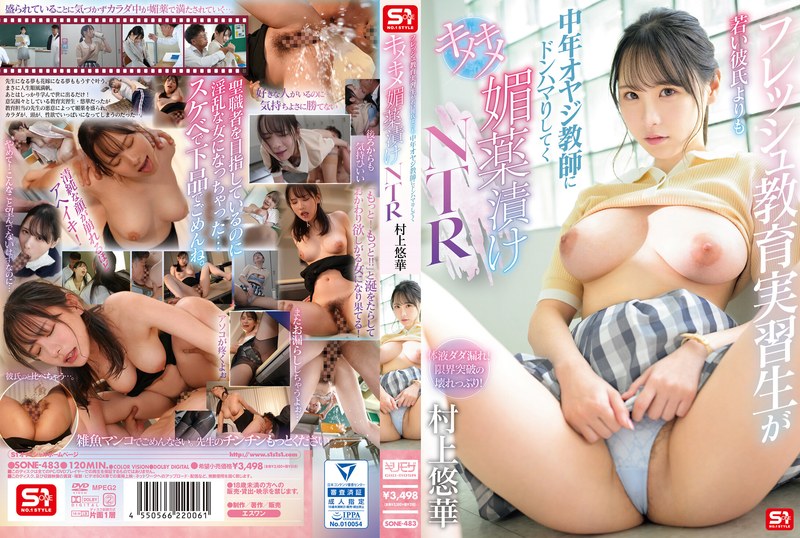
SONE-483 furesshu实习生が如いPIshiよりもオヤジ中年老师にドンハマりしてくキメキメ美薬笑NTR
强奸乱伦 - 2025-01-14
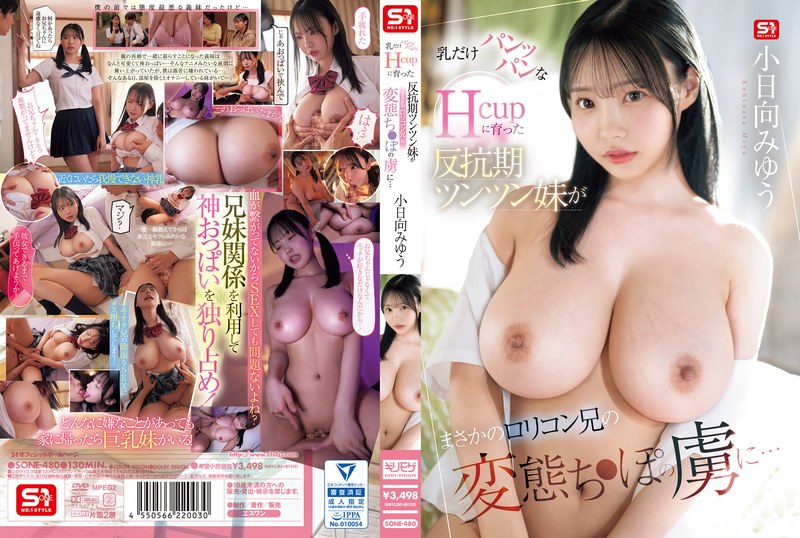
SONE-480 胸だけパンパンなHcup にった叛逆期ツンツン妹妹がまさかのロorikon哥の変状态ち●ぽの殚…
强奸乱伦 - 2025-01-14
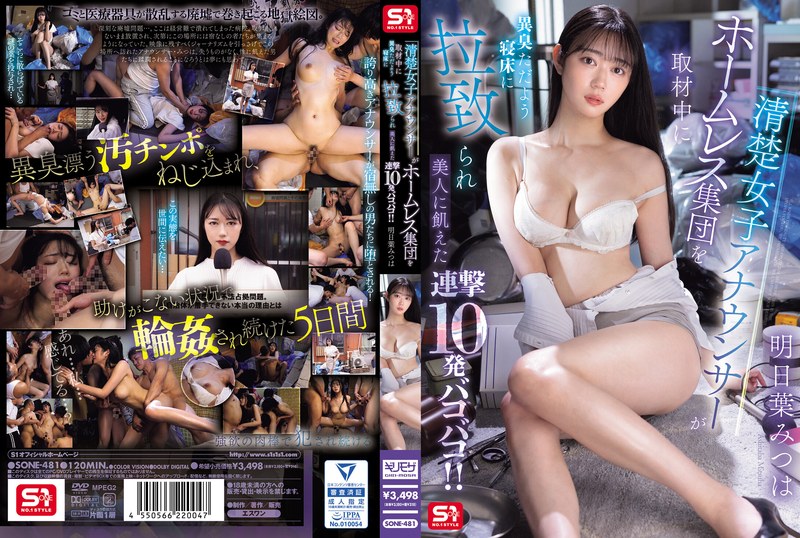
SONE-481 明明女的是从收藏中取出的,床上有味道,美女饿了,美女饿了10天。
强奸乱伦 - 2025-01-14
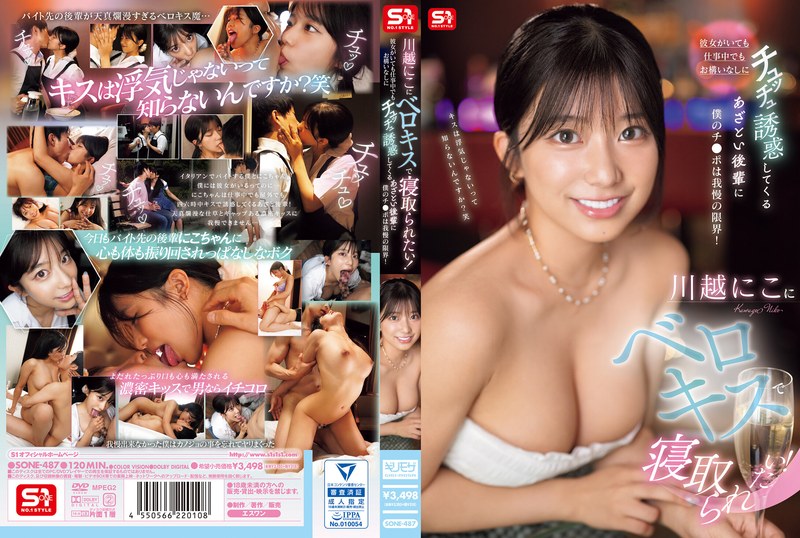
SONE-487 川越にこにベロキsuで床られたい!女人的工作就是公务,诱惑就是诱惑。
强奸乱伦 - 2025-01-14
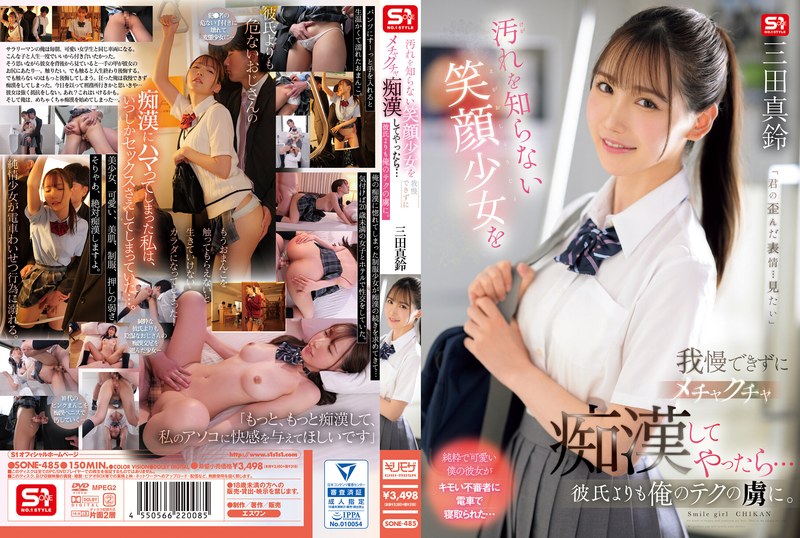
DREAM-485 我是一个脸上带着微笑的女孩,我是一个慢吞吞的女孩。
强奸乱伦 - 2025-01-14
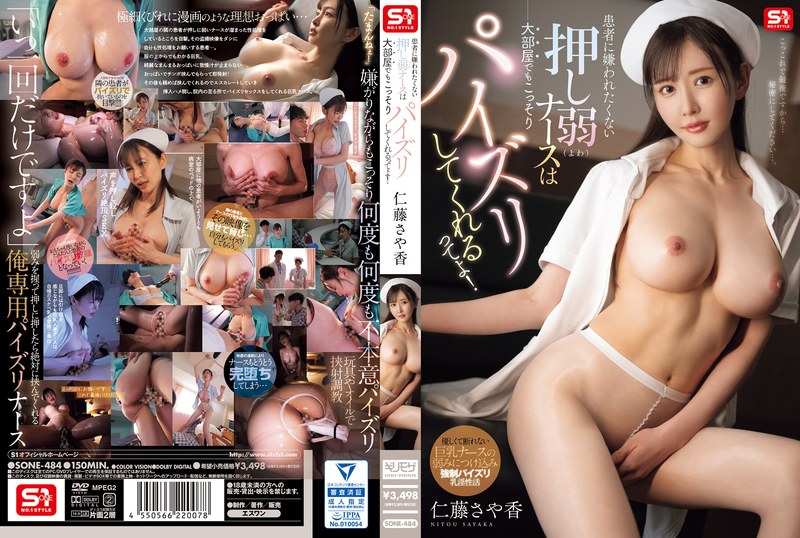
SONE-484 病人太弱了(よわ),大房子也太弱了!
强奸乱伦 - 2025-01-14
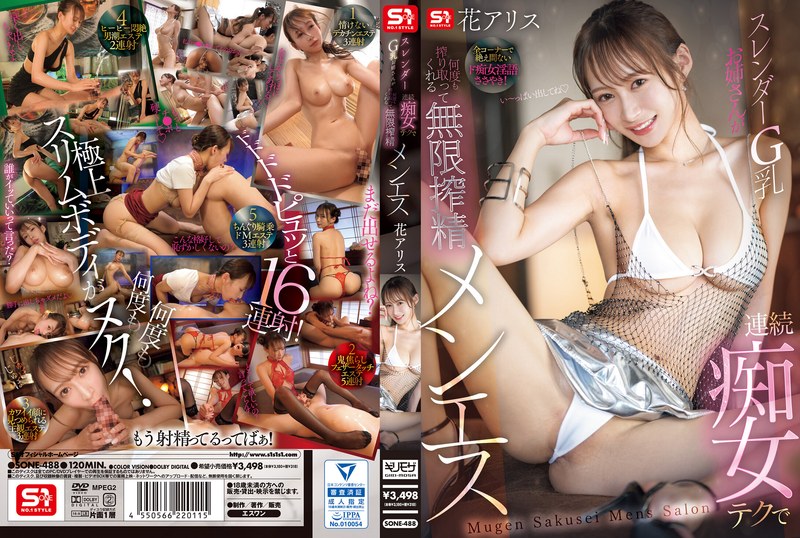
SONE-488 surendaG 乳房妹妹さんが连続疯狂女孩テクで挤压在哪里ってくれる无限暨メンエsu
强奸乱伦 - 2025-01-14
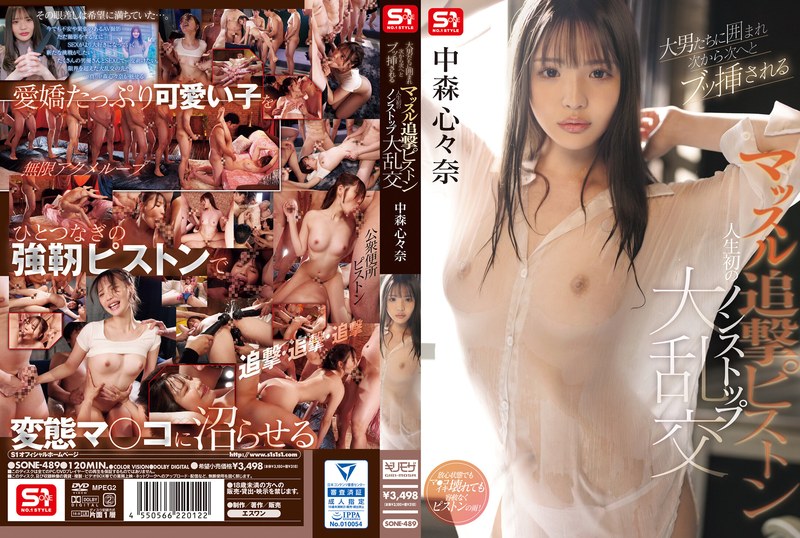
SONE-489 大男人的第一次大狂欢
强奸乱伦 - 2025-01-14
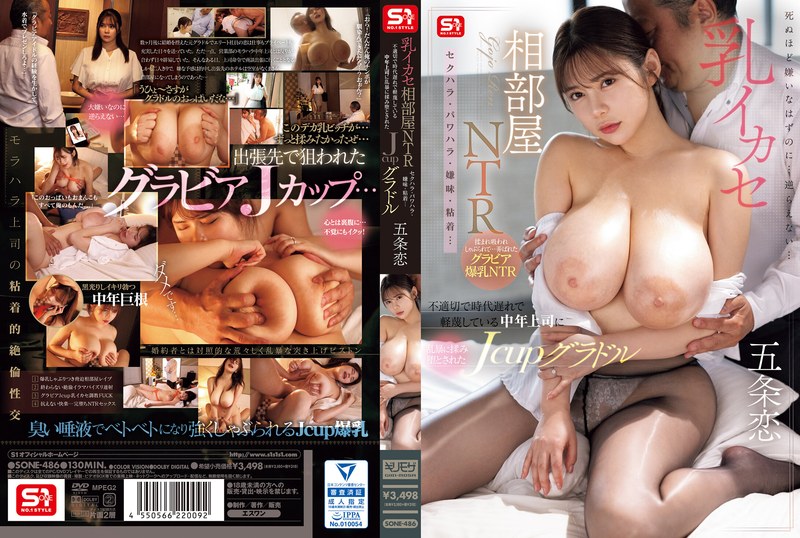
SONE-486 牛奶爱布亚NTR セクハラ·パワハラ·味道·粘腻…不适合那个时代遅れで軽miしている中年老板
强奸乱伦 - 2025-01-14
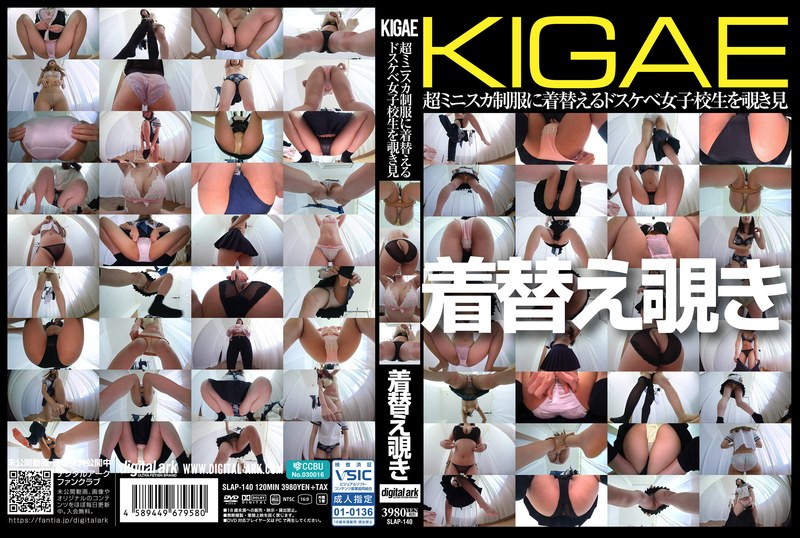
SLAP-140 KIGAE 超级ミnisuka制服替补えるドsukebebe女学生を覗き见 (SLAP-140)
强奸乱伦 - 2025-01-13
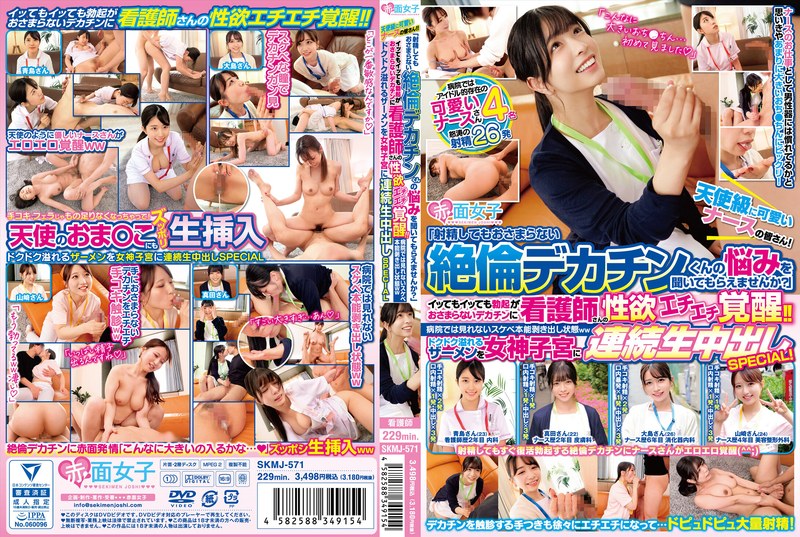
SKMJ-571 天使级可爱いナースのさん! ! “最好的射精
强奸乱伦 - 2025-01-13
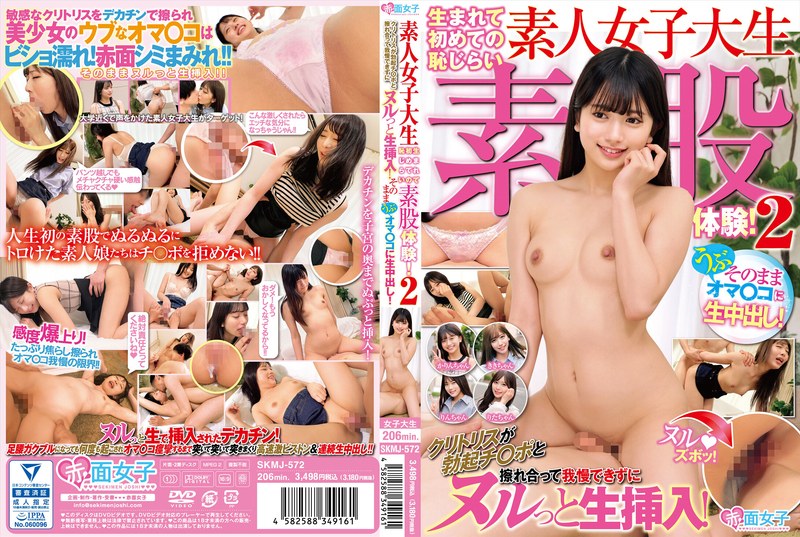
SKMJ-572 素人大学生粗暴肛交!
强奸乱伦 - 2025-01-13
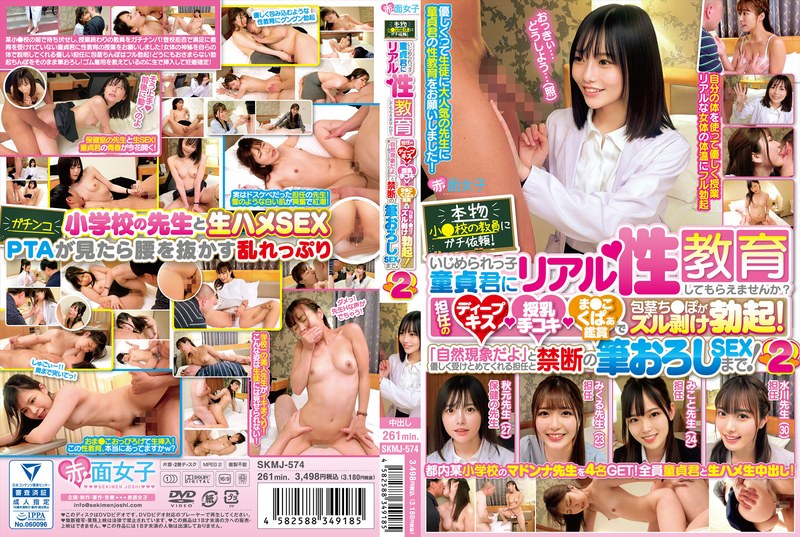
SKMJ-574 本物小学老师 爱丽丝!服务
强奸乱伦 - 2025-01-13
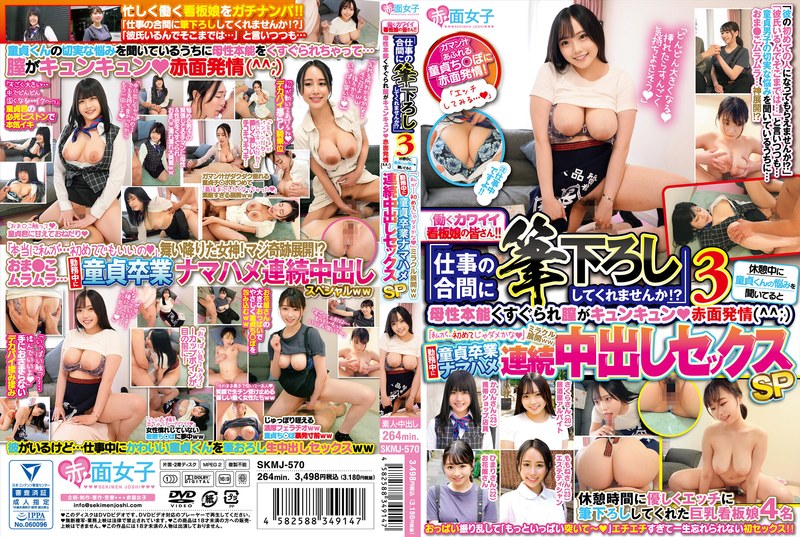
SKMJ-570 働くカワイikabanlao 不就是这样! ! “正史正史是ろししてくれませんか写的!?” 3. 尚存童贞
强奸乱伦 - 2025-01-13
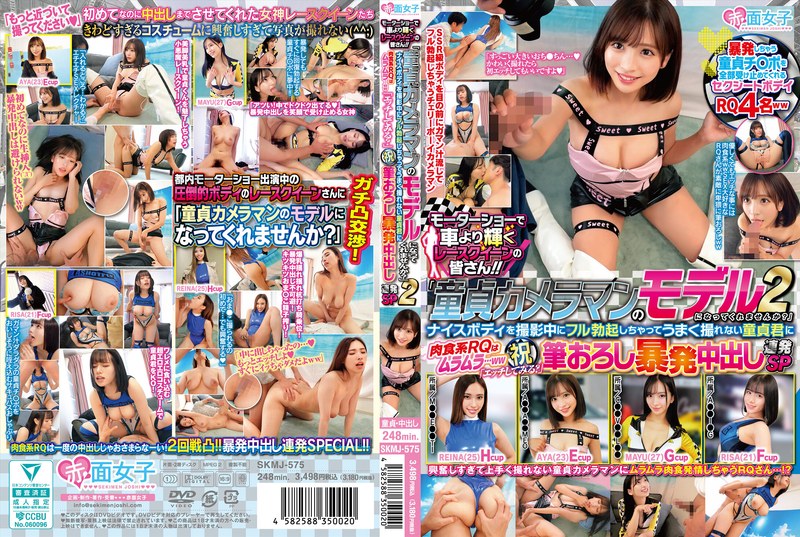
SKMJ-575是最好的选择! ! “处女 处女 处女
强奸乱伦 - 2025-01-13
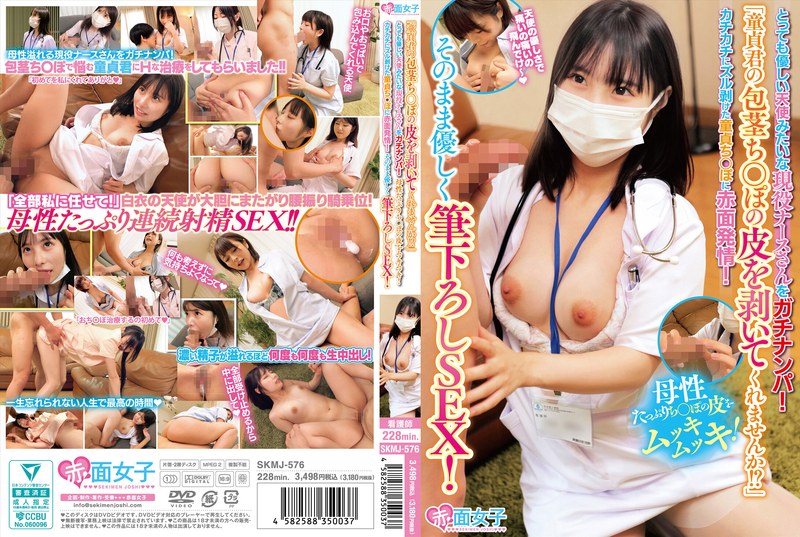
SKMJ-576 「处女主的包茎ち○ぽの皮肤を剥落いてくれませんか!?」とっても优しい天使积极的
强奸乱伦 - 2025-01-13
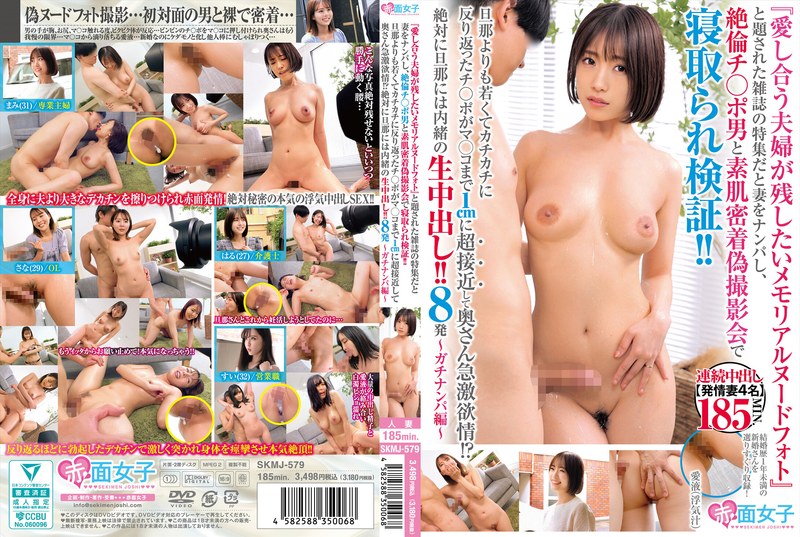
SKMJ-579 「爱し合うparaが残したいメモriaルヌードfoto」 」と标题された雑志の特集だと妻子をナンパし、Juleneチ○
强奸乱伦 - 2025-01-13
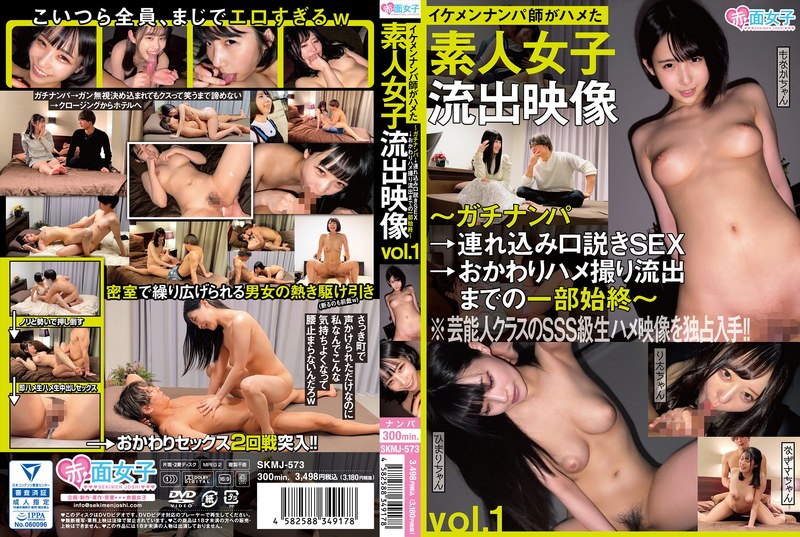
SKMJ-573 イケメンナンパ师がハメた素人女人泄露图像第1卷〜ガチナンパ→甚至れ込み口说きSEX→おかわり
强奸乱伦 - 2025-01-13
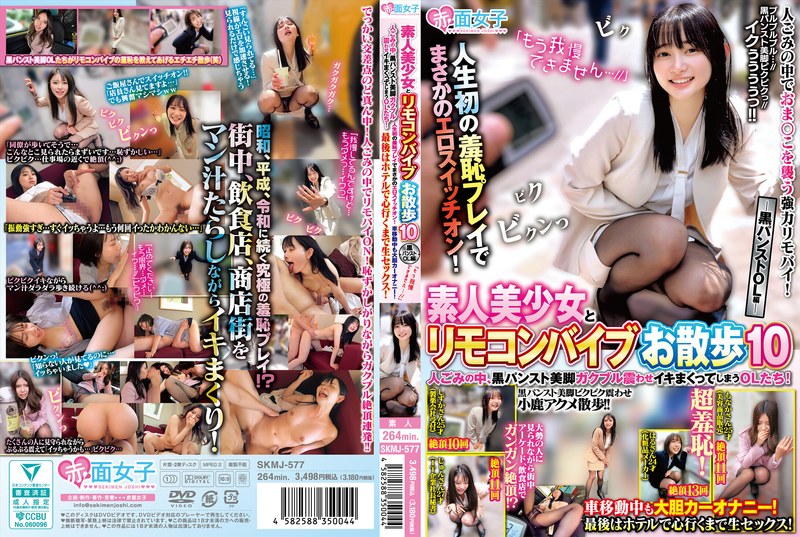
SKMJ-577 素人美少女七月三助10-编辑黑物OL-「もう我SLOWできません…##」人ごみの中
强奸乱伦 - 2025-01-13
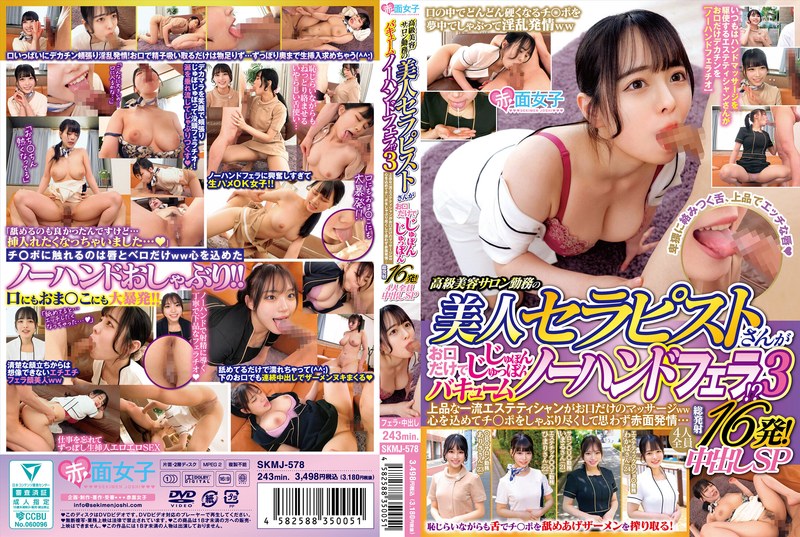
SKMJ-578 高级美容院。
强奸乱伦 - 2025-01-13
SMCD-024 身着军装的少女狙击手。最好的
强奸乱伦 - 2025-01-13
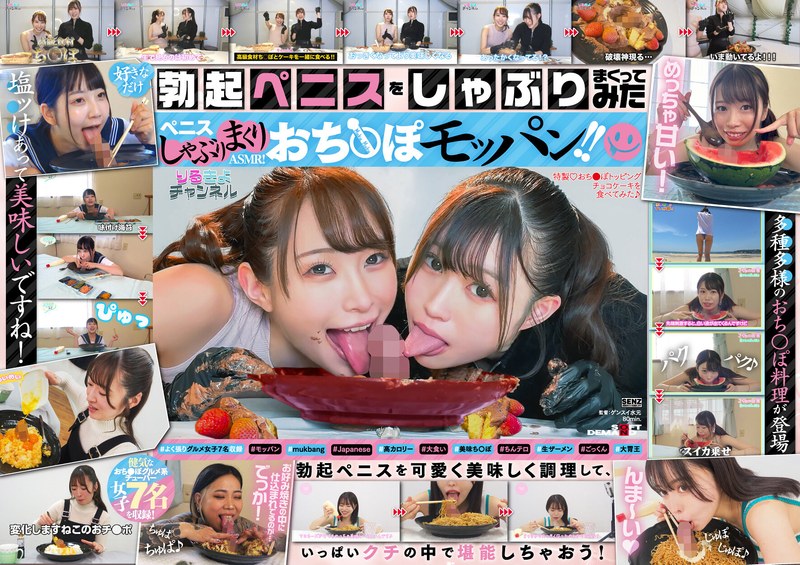
SDDE-731 ペnisしゃぶりまくりASMR! おち〇ぽモッパン! ! #よく张りグルメwomen 7 包括#moppan
强奸乱伦 - 2025-01-12
SDAB-321 乳头头 SEX教育
强奸乱伦 - 2025-01-12